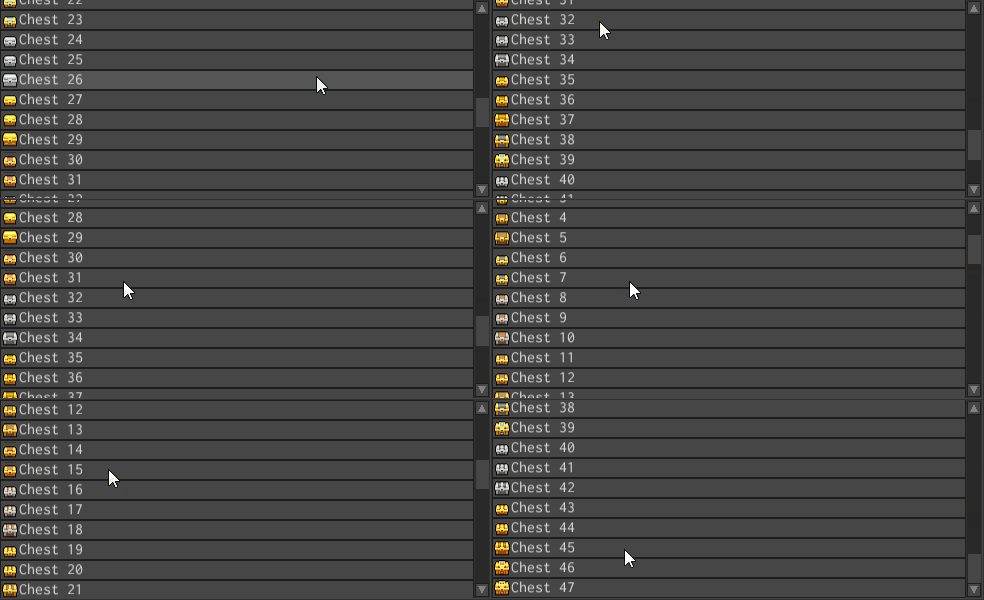
List view

List view is used to display lists with arbitrary items. It supports multiple selection and by default, it stacks the items vertically (this can be changed by providing a custom panel for the items, see the section below).
Example
ListView can be created using ListViewBuilder:
#![allow(unused)]
fn main() {
fn create_list(ctx: &mut BuildContext) -> Handle<ListView> {
    ListViewBuilder::new(WidgetBuilder::new())
        .with_items(
            vec![
                TextBuilder::new(WidgetBuilder::new())
                    .with_text("Item0")
                    .build(ctx),
                TextBuilder::new(WidgetBuilder::new())
                    .with_text("Item1")
                    .build(ctx),
            ]
            .to_base(),
        )
        .build(ctx)
}
}
Keep in mind, that the items of the list view can be pretty much any other widget. They also don’t have to be the same type, you can mix any type of widgets.
Custom Items Panel
By default, list view creates inner StackPanel to arrange its items. It is enough for most cases, however,
in rare cases you might want to use something else. For example, you could use WrapPanel to create list view with
selectable “tiles”:
#![allow(unused)]
fn main() {
fn create_list_with_panel(ctx: &mut BuildContext) -> Handle<ListView> {
    ListViewBuilder::new(WidgetBuilder::new())
        // Using WrapPanel instead of StackPanel:
        .with_items_panel(WrapPanelBuilder::new(WidgetBuilder::new()).build(ctx))
        .with_items(
            vec![
                TextBuilder::new(WidgetBuilder::new())
                    .with_text("Item0")
                    .build(ctx),
                TextBuilder::new(WidgetBuilder::new())
                    .with_text("Item1")
                    .build(ctx),
            ]
            .to_base(),
        )
        .build(ctx)
}
}
Selection
List view supports any number of selected items (you can add items to the current selecting by holding Ctrl key),
you can change it at runtime by sending [ListViewMessage::SelectionChanged] message with
[MessageDirection::ToWidget] like so:
#![allow(unused)]
fn main() {
fn change_selection(my_list_view: Handle<UiNode>, ui: &UserInterface) {
    ui.send(my_list_view, ListViewMessage::Selection(vec![1]));
}
}
It is also possible to not have selected item at all, to do this you need to send an empty vector as a selection.
To catch the moment when selection has changed (either by a user or by the ListViewMessage::SelectionChanged)
you need to listen to the same message but with opposite direction, like so:
#![allow(unused)]
fn main() {
fn do_something(my_list_view: Handle<UiNode>, message: &UiMessage) {
    if let Some(ListViewMessage::Selection(selection)) = message.data_from(my_list_view) {
        println!("New selection is: {:?}", selection);
    }
}
}
Adding/removing items
To change items of the list view you can use the variety of following messages: ListViewMessage::AddItem, ListViewMessage::RemoveItem, ListViewMessage::Items. To decide which one to use, is very simple - if you adding/removing a few items, use ListViewMessage::AddItemandListViewMessage::RemoveItem, otherwise use ListViewMessage::Items`, which changes the items at once.
#![allow(unused)]
fn main() {
fn change_items(my_list_view: Handle<UiNode>, ui: &mut UserInterface) {
    let ctx = &mut ui.build_ctx();
    // Build new items first.
    let items = vec![
        TextBuilder::new(WidgetBuilder::new())
            .with_text("Item0")
            .build(ctx),
        TextBuilder::new(WidgetBuilder::new())
            .with_text("Item1")
            .build(ctx),
    ]
    .to_base();
    // Then send the message with their handles to the list view.
    ui.send(my_list_view, ListViewMessage::Items(items));
}
}
Bringing a particular item into view
It is possible to bring a particular item into view, which is useful when you have hundreds or thousands of items and
you
want to bring only particular item into view. It could be done by sending a ListViewMessage::BringItemIntoView
message:
#![allow(unused)]
fn main() {
fn bring_item_into_view(my_list_view: Handle<UiNode>, my_item: Handle<UiNode>, ui: &UserInterface) {
    ui.send(my_list_view, ListViewMessage::BringItemIntoView(my_item));
}
}