Shaders
Shader is a set of programs that run directly on graphics adapter. Each program from the set is called sub-shader. Sub-shaders linked with render pass, each render pass defines "where" to draw an object. "where" means that you can set up your own render pass and the renderer will use the sub-shader with your render pass. For the ease of use there are a number of predefined render passes.
Shaders have properties of various types that can be used together with materials to draw an object.
Shaders language
The engine uses GLSL shading language for every sub-shader. There are numerous GLSL guides over the internet, so there is no need to "re-post" the well documented info again.
There are very few differences:
- No need to define a version of the shader. Every shader source will be pre-processed, and it will get correct version automatically. Preprocessing is needed because the same shader could run on OpenGL and WebGL (OpenGL ES) which have some differences.
- There is a "standard" library of useful methods which is automatically included in every shader source at preprocessing stage. The library source could be found here. It is well documented, and you may find some functions useful for you job.
Structure
Shader has rigid structure that could be described in this code snippet:
(
    // A set of properties, there could be any amount of properties.
    properties: [
        (
            // Each property must have a name. This name must match with respective
            // uniforms! That's is the whole point of having properties.
            name: "diffuseTexture",
            // Value has limited set of possible variants.
            value: Sampler(default: None, fallback: White)
        )
    ],
    // A set of render passes (see next section for more info)
    passes: [
        (
            // Name must match with the name of either standard render pass (see below) or
            // one of your passes.
            name: "Forward",
            // A set of parameters that regulate renderer pipeline state.
            // This is mandatory field of each render pass.
            draw_parameters: DrawParameters(
                // A face to cull. Either Front or Back.
                cull_face: Some(Back),
                // Color mask. Defines which colors should be written to render target.
                color_write: ColorMask(
                    red: true,
                    green: true,
                    blue: true,
                    alpha: true,
                ),
                // Whether to modify depth buffer or not.
                depth_write: true,
                // Whether to use stencil test or not.
                stencil_test: None,
                // Whether to perform depth test when drawing.
                depth_test: true,
                // Blending options.
                blend: Some(BlendFunc(
                    sfactor: SrcAlpha,
                    dfactor: OneMinusSrcAlpha,
                )),
                // Stencil options.
                stencil_op: StencilOp(
                    fail: Keep,
                    zfail: Keep,
                    zpass: Keep,
                    write_mask: 0xFFFF_FFFF,
                ),
            ),
            // Vertex shader code.
            vertex_shader:
                r#"
                layout(location = 0) in vec3 vertexPosition;
                layout(location = 1) in vec2 vertexTexCoord;
                uniform mat4 fyrox_worldViewProjection;
                out vec2 texCoord;
                void main()
                {
                    texCoord = vertexTexCoord;
                    gl_Position = fyrox_worldViewProjection * vertexPosition;
                }
                "#;
            // Pixel shader code.
            pixel_shader:
                r#"
                // Note that the name of this uniform match the name of the property up above.
                uniform sampler2D diffuseTexture;
                out vec4 FragColor;
                in vec2 texCoord;
                void main()
                {
                    FragColor = diffuseColor * texture(diffuseTexture, texCoord);
                }
                "#;
        )
    ],
)
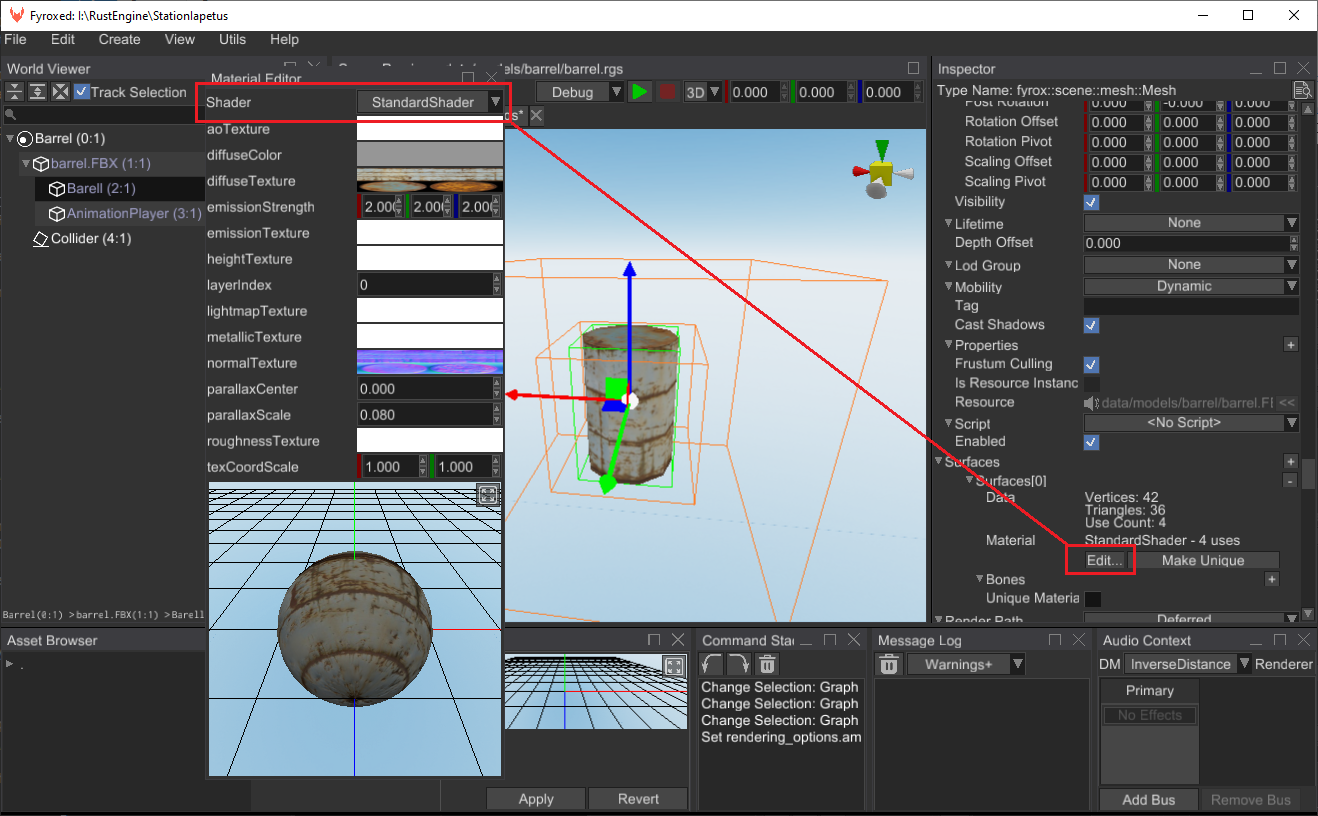
The engine can load such shaders if you save it in a file with .shader extension. After that, you can assign
the shader to your material in the Material Editor:
Alternatively, you can load the shader from code. To do this, you can use this code:
#![allow(unused)]
fn main() {
extern crate fyrox;
use fyrox::{
    asset::manager::ResourceManager,
    material::shader::{Shader, ShaderResource},
};

fn load_shader(resource_manager: &ResourceManager) -> ShaderResource {
    resource_manager.request::<Shader, _>("path/to/my/cool.shader")
}
}
After that you can use the shader to build a material from it:
#![allow(unused)]
fn main() {
extern crate fyrox;
use fyrox::{
    asset::manager::ResourceManager,
    material::{shader::Shader, Material, SharedMaterial},
};

fn create_material(resource_manager: &ResourceManager) -> SharedMaterial {
    let shader = resource_manager.request::<Shader, _>("path/to/my/cool.shader");
    SharedMaterial::new(Material::from_shader(
        shader,
        Some(resource_manager.clone()),
    ))
}
}
This material instance can be used for rendering. For example, you can assign it a surface of some mesh.
Properties
Property is a named variable of some type. Properties are directly tied with the uniforms in the sub-shaders,
for each you can have a property called time, and then you can define uniform float time; in your sub-shader
and the engine will pass a property value to that uniform for you before drawing an object. Properties placed in
a "global namespace", which means that every sub-shader has "access" to the properties.
Built-in properties
There are number of built-in properties, that Fyrox will try to assign automatically if they're defined in your shader:
| Name | Type | Description |
|---|---|---|
| fyrox_worldMatrix | mat4 | Local-to-world transformation. |
| fyrox_worldViewProjection | mat4 | Local-to-clip-space transform. |
| fyrox_boneMatrices | sampler2D | Array of bone matrices packed into a texture. Use S_FetchMatrix built-in method to fetch a matrix by its index. |
| fyrox_useSkeletalAnimation | bool | Whether skinned meshes is rendering or not. |
| fyrox_cameraPosition | vec3 | Position of the camera. |
| fyrox_usePOM | bool | Whether to use parallax mapping or not. |
| fyrox_lightPosition | vec3 | Light position. |
| fyrox_blendShapesStorage | sampler3D | 3D texture of layered blend shape storage. Use S_FetchBlendShapeOffsets built-in method to fetch info. |
| fyrox_blendShapesWeights | float[128] | Weights of all available blend shapes. |
| fyrox_blendShapesCount | int | Total amount of blend shapes. |
To use any of the properties, just define a uniform with an appropriate name:
uniform mat4 fyrox_worldMatrix;
uniform vec3 fyrox_cameraPosition;
This list will be extended in future releases.
Predefined render passes
Predefined render passes helps you to create your own shader without a need to create your own render pass and to quickly start writing your shaders.
- GBuffer - A pass that fills a set with render target sized textures with various data about each rendered object. These textures then are used for physically-based lighting. Use this pass when you want the standard lighting to work with your objects.
- Forward - A pass that draws an object directly in render target. This pass is very limiting, it does not support lighting, shadows, etc. It should be only used to render translucent objects.
- SpotShadow - A pass that emits depth values for an object, later this depth map will be used to render shadows.
- PointShadow - A pass that emits distance from a fragment to a point light, later this depth map will be used to render shadows.
Drawing parameters
Drawing parameters defines which GPU functions to use and at which state. For example, to render transparent objects you need to enable blending with specific blending rules. Or you need to disable culling to draw objects from both sides. This is when draw parameters come in handy.
There are relatively large list of drawing parameters, and it could confuse a person who didn't get used to work with graphics. The following list should help you to use drawing parameters correctly.
cull_face:- Defines which side of polygon should be culled.
- Possible values:
None,Some(CullFace::Back),Some(CullFace::Front)
color_write:- Defines which components of color should be written to a render target
- Possible values:
ColorMask { .. }
depth_write:- Whether to modify depth buffer or not.
- Possible values:
true/false
stencil_test:- Whether to use stencil test or not.
- Possible values:
NoneSome(StencilFunc { .. })
depth_test:- Whether to perform depth test when drawing.
- Possible values:
true/false
blend:- Blending options.
- Possible values:
NoneSome(BlendFunc { .. } )
stencil_op:- Stencil options.
- Possible values:
StencilOp { .. }
Vertex shader
Vertex shader operates on single vertices, it must provide at least the position of the vertex in clipping space. In other words it has to do at least this:
layout(location = 0) in vec3 vertexPosition;

uniform mat4 fyrox_worldViewProjection; // Note the built-in variable.

void main()
{
    gl_Position = fyrox_worldViewProjection * vertexPosition;
}
This is the simplest vertex shader, using vertex shaders you can create various graphical effects that affects vertices.
Pixel Shader
Pixel shader (or more precisely - fragment shader), operates on a small fragment of your render target. In general pixels shaders just writes some color to a render target (or multiple targets) using some program.
out vec4 FragColor;

void main()
{
    FragColor = vec4(1, 0, 0, 1);
}
This is the simplest pixel shader, it just fills the render target with red color.